
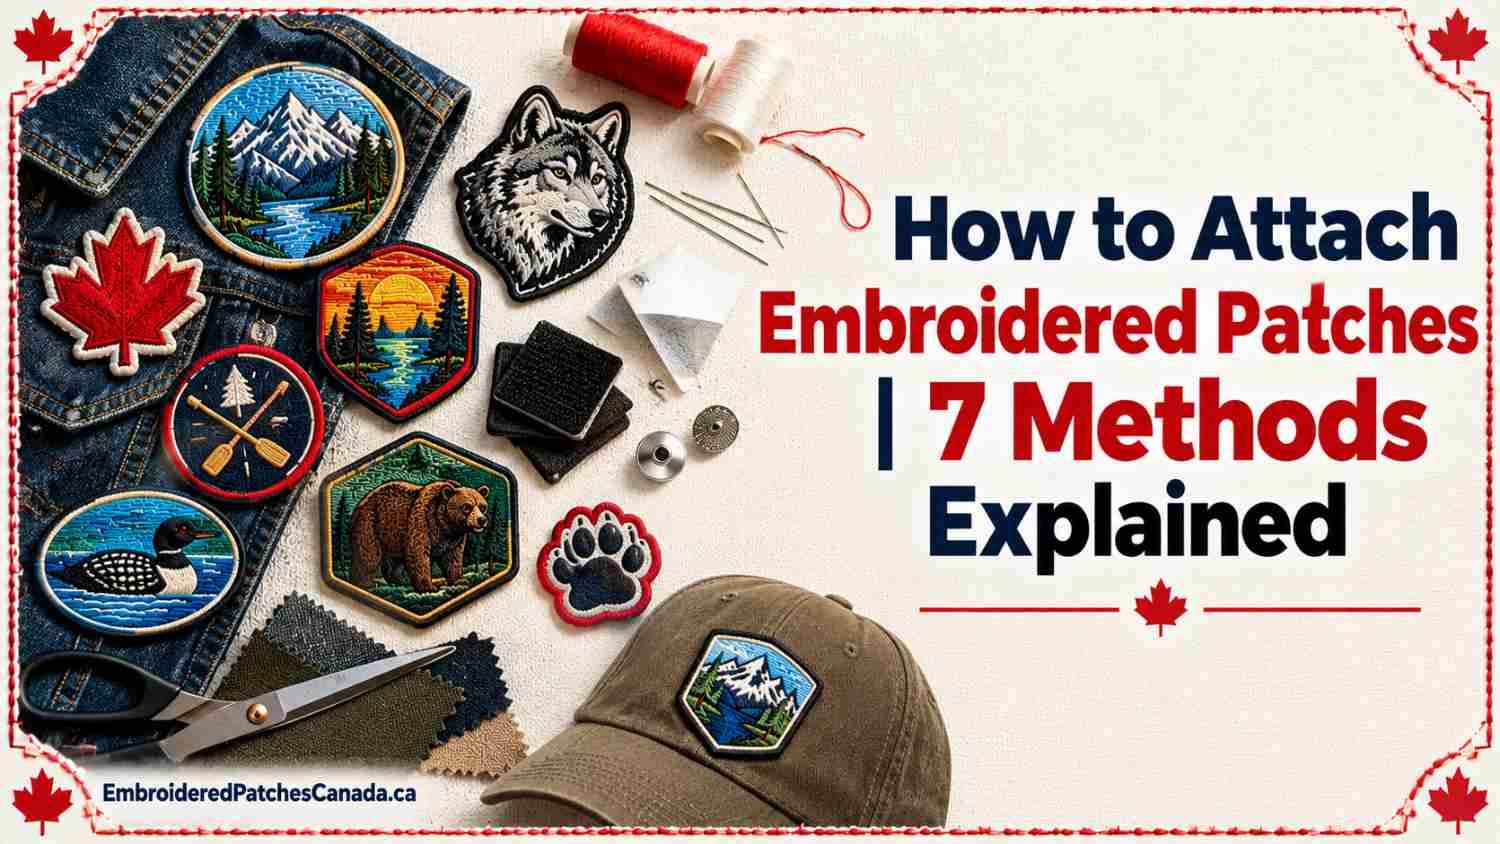
Instead of ruining your patch, first learn how to attach embroidered patches properly by reading this guide. It takes few minutes to apply embroidered patches to your clothes, but their longevity depends on the method you use. We explore different ways to apply embroidered patches, including iron-on, sew-on, glued, and Velcro patches.
7 Methods: How to Attach Embroidered Patches?
Stop scrolling for best solutions for applying embroidered patches; we explained all the possible methods for attaching embroidered patches below:
Method 1: Safety Pins
Attaching embroidered patches through safety pins is ideal for one-day use. You can rely on pins whether it’s your event, costume, or test placements.
- Lay the patch where you want it.
- Capture a thin layer of fabric in patch border, then push a pin through each corner.
- Add pins along the sides of larger patches.
- Close every pin and tug the patch gently to confirm it holds.
Tips
- Pin through the border only, never the stitched design.
- For minimal look, go with small pins on thin fabrics.
- Not suitable for daily wear or washing.
Method 2: Peel-and-Stick Adhesive
Wondering how to attach embroidered patches for short time? Use peel-and-stick adhesive because it’s perfect for quick fixes.
- Wipe the garment surface clean and let it dry.
- Peel off the protective backing.
- Line up the patch and press it down.
- Rub across the whole patch, edges included.
- Keep the garment dry for 24 hours.
Tips
- A clean surface matters more than pressure.
- Put high pressure on the patch edges, because peeling starts there.
- Add a few stitches if the item will be washed.
Method 3: Fabric Tape
Another quick way to put embroidered patches on shirts or hoodies is using a fabric tape. Good thing is that it doesn’t require any heat attachment on items you rarely wash.
- Clean and dry the spot where the patch will sit.
- Cut tape pieces to fit the back of the patch, just inside the border.
- Stick the tape onto the patch.
- Remove the liner, position the patch, and press it down firmly.
Tips
- Keep tape inside the border so no sticky edge shows.
- Use double-sided fabric tape made for clothing.
- Position carefully, because repositioning weakens the bond.
Method 4: Iron-On Application
Most people search online for how to attach embroidered patches using iron. It is good method for cotton and denim fabrics that are not sensitive to high heat. But it’s not recommended for leather or rubber materials.
- Set the iron to a high setting with steam off.
- Place the patch on the garment and lay a thin cloth over it.
- Press down firmly for about 30 seconds. Don’t slide the iron.
- Let the patch cool completely.
- Check the edges. If a corner lifts, cover it and press again.
You can make them hold strong by flipping the fabric inside out and pressing the patch area for almost 30 seconds.
Tips
- Iron on a hard, flat surface, not a padded board.
- Always use a pressing cloth to protect the thread.
- Do not forget to look at the care label first. For leather or waterproof shells, you should use sew-on or Velcro methods.
Method 5: Fusible Webbing
You can rely on fusible webbing when your embroidered patch has no adhesive-based backing or a stronger bond on lighter fabrics.
- Cut a piece of webbing slightly smaller than the patch.
- Place it on the back of the patch and press with a warm iron to attach it.
- Position the patch on the garment.
- Cover with a pressing cloth and iron again to bond it.
Tips
- Cut the webbing smaller than the patch so it doesn’t melt onto the iron.
- Follow the manufacturer’s temperature and timing.
- Test on a hidden spot if the fabric is delicate.
Method 6: Velcro Backing
The hook-and-loop system of Velcro patches works well for people worried about how to attach embroidered patches. They are easy to replace, ideal for jackets, uniforms, and tactical gear.
- One half is called hook side; apply it to the patch. Likewise, the other side is known as loop side, which goes on the fabric.
- Position the loop piece where the patch will sit.
- Sew it onto the garment, or use strong adhesive Velcro if the fabric allows.
- Press the patch onto the loop piece, lining up the edges.
Tips
- Align both halves before sewing.
- Sewn Velcro outlasts adhesive on washed garments.
- Close the hooks before washing so they don’t snag other clothing.
Method 7: Hand Sewing
If you want to know how to attach embroidered patches permanently, then sewing on is the best method. Sewing the patch on the fabric provides extra secure hold on almost all kinds of fabrics, from delicate to heavy materials.
- Pin the patch in position.
- Use a strong thread which has the same coour as borders.
- Start from the inside of the garment so the knot stays hidden.
- Stitch around the edge with a whip stitch or straight stitch, keeping stitches small and tight.
- Knot the thread inside and trim the ends.
When you notice the patch is too heavy, apply few stitches on the border areas.
Tips
- Space stitches evenly and close together so edges don’t lift.
- Use a thimble or stronger needle on denim or leather.
- Avoid pulling stitches so tight that the fabric puckers.
We wrote a whole dedicated guide for people asking how to make embroidered patches.
What Fabric Tips Should You Follow?
After understanding this guide on how to attach embroidered patches to clothes, match your fabric to the method you are going to use first:
| Fabric | Best Method | Tip |
| Cotton and denim | Iron-on, sew-on | Handle heat well, so iron-on works. Add stitches for extra hold. |
| Jackets, backpacks, heavy uniforms | Machine sew | Stitch slowly and backstitch at the ends. |
| Delicate or flexible fabrics | Hand sew | Skip the iron and use relaxed stitches. |
| Leather | Sew or glue | Heat can damage it. See our leather and denim guide. |
| Waterproof shells | Sew or Velcro | Avoid direct heat. See our rain jacket guide. |
Final Verdict
How to attach embroidered patches to your jackets, caps, jeans, or shirts with clear steps and tips Becomes simple with our guide. You can pick iron-on, glue-based, or safety pins for quickest embroidery patch application. However, sew-on and Velcro stand out when you need permanent and strong hold.
Working on some project? Ask for a free quote today, and we will recommend best application for patches. Contact EmbroideredPatchesCanada.ca.
Frequently Asked Questions
How long should I press an iron-on patch?
Press firmly for 30 to 60 seconds through a pressing cloth. Then flip the garment inside out and press the back for another 30 seconds. Before you wear them, let it cool down entirely to avoid peeling off.
Can patches be removed?
Yes, if you have used adhesive-based, Velcro, or safety pins to apply embroidered patches on your clothes, then it’s easy to remove them. But in case of sew-on embroidered patches, you might see small holes in the fabric after removal.
Do I need to sew after ironing?
It’s not required, but it helps. Adding stitches around the border locks the patch in place on items that get heavy use or frequent washing, where adhesive alone may lift at the edges.